1. Getting Started
1.1 Introduction to no2bounce
What is no2bounce, and How Does It Work?
no2bounce is an advanced email validation and verification service that helps businesses improve email deliverability by ensuring their email lists contain valid and active email addresses. It removes invalid, disposable, spam traps, and risky email addresses, reducing bounce rates and improving sender reputation.
Benefits of Using no2bounce for Email Validation
· Reduces email bounce rates
· Increases sender reputation and deliverability
· Protects against spam traps and blacklisted emails
· Enhances email marketing ROI
· Helps comply with GDPR and email marketing regulations
Key Features Overview
· Bulk Email Verification: Validate large lists quickly.
· Real-Time API Validation: Verify emails instantly during sign-ups.
· Detailed Email Status Reports: Identify valid, invalid, catch-all, and more.
· Easy Integrations: Works with email marketing and CRM tools.
· Secure and GDPR Compliant: Ensures data protection and privacy.
1.2 Account Setup & Navigation
How to Create an Account on no2bounce
1. Go to the no2bounce website and click on Sign Up.
2. Enter your email address, create a password, and verify your account via email.
3. Log in to your dashboard to start verifying email lists.
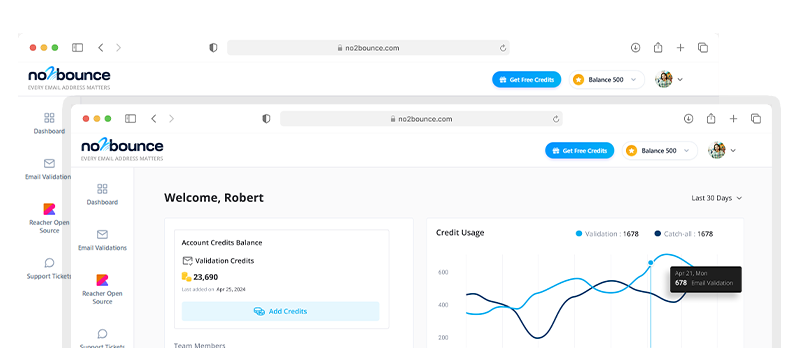
Navigating the no2bounce Dashboard
· Home: Quick access to email validation tools.
· Upload Section: Where you can submit lists for verification.
· Reports: View and download validation results.
· API Settings: Manage API keys for real-time verification.
· Billing: Check credits, purchase plans, and manage payments.
Understanding Different Sections of Your Account
· Dashboard Overview: Provides a summary of your verification activity.
· Email Validation Results: Displays categorized email statuses.
· Settings: Allows users to customize preferences and security settings.
1.3 Verifying Your First Email List
How to Upload and Validate an Email List
1. Log in to Your no2bounce Account
2. Navigate to the "Bulk Email Verification" Section
3. Upload Your File:
o Click on Upload CSV File.
o Ensure your file is in the correct format (CSV, with one email per line).
4. Start the Validation Process
o Click Start Verification.
o no2bounce will analyze your list in real-time.
5. View Your Results
o The report categorizes emails as valid, invalid, catch-all, disposable, or unknown.
6. Download Cleaned List
o Click on Export to download only valid email addresses.
Understanding Validation Statuses
· Valid: Safe to send emails to.
· Invalid: Does not exist or is undeliverable.
· Catch-All: The domain accepts all emails, but individual addresses may still be invalid.
· Disposable: Temporary email addresses that will soon expire.
· Role-Based: Generic emails like support@ or sales@ that may not engage with emails.
· Unknown: The status couldn't be determined due to server restrictions.
How to Download Your Cleaned Email List
· After validation, go to Reports.
· Click on Download and choose "Valid Emails Only."
· Save the file and use it for your email campaigns.
By following these steps, you can maintain a high-quality email list and improve your email marketing effectiveness. For more details, check out our [API Integration Guide] to enable real-time email verification.
Start cleaning your list instantly.
No credit card required.